
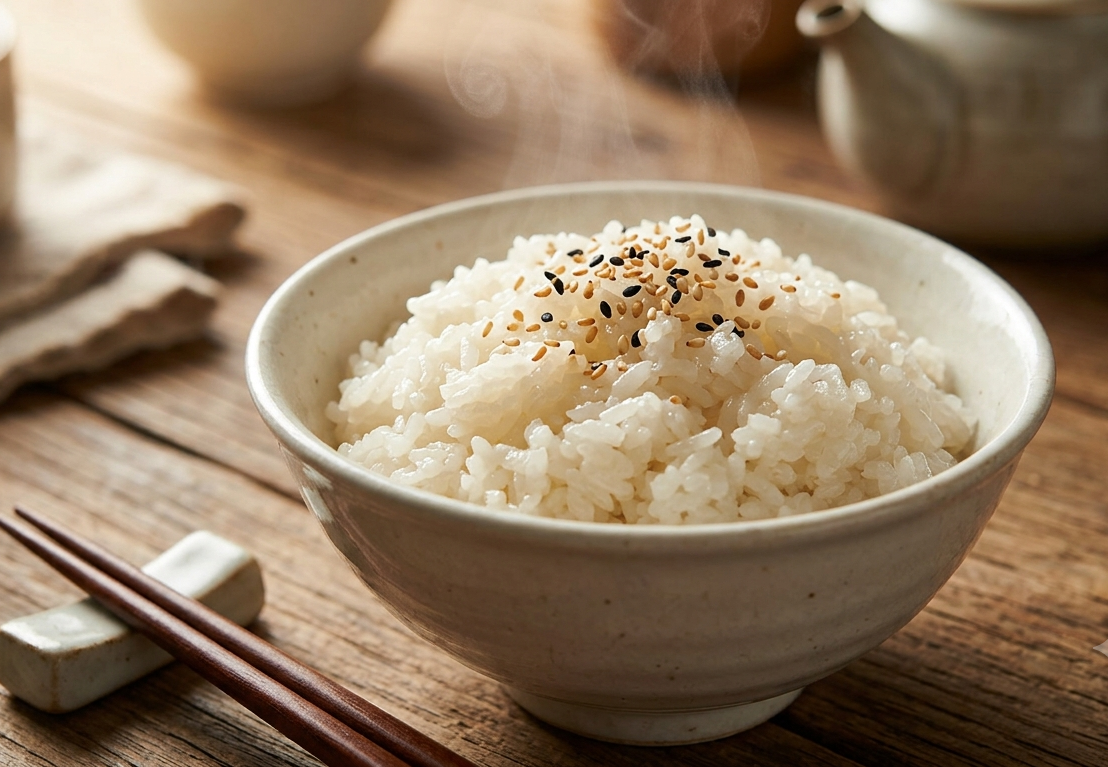
My Love for Sticky Rice: A Short Story
I have always loved sticky rice, and the reason isn’t just its taste, but the unique way it is prepared. Unlike regular rice, where every grain stays separate, sticky rice clings together in a soft, tender texture that offers a delightfully chewy bite with every mouthful.
I remember when I first learned how to make it properly—I realized that, unlike ordinary rice, it can’t be rushed. The grains need to soak in water for a while beforehand so they can absorb all the moisture, which helps bring out that distinct aroma and perfect stickiness as they cook.
When it finishes steaming and warm vapor rises from the pot, just looking at its softness and texture brings joy to my heart. Whether enjoyed with a rich, spicy curry, paired with a sweet dish, or simply sprinkled with a few sesame seeds, every single bite is pure comfort. That is why sticky rice remains one of my absolute favorite dishes!
Sticky Rice in My Aroma Rice Cooker
Making sticky rice (glutinous or sweet rice) in an Aroma Rice Cooker requires adjusting your standard rice-to-water ratio and incorporating a brief soak so the short, starch-rich grains absorb moisture evenly without turning into mush.
Here is a step-by-step guide to get soft, perfectly chewy sticky rice.
Ingredients & Equipment
-
Glutinous Rice (often labeled as Sweet Rice or Thai Sticky Rice)
-
Water
-
Aroma Rice Cooker
-
Optional: A pinch of salt or coconut milk for flavor
Step-by-Step Instructions
1. Measure and Rinse the Rice
-
Measure out your desired amount of sticky rice using the cup provided with your cooker (or a standard measuring cup).
-
Place the rice in a fine-mesh strainer or the inner pot. Rinse under cold water, swirly gently, and drain.
-
Repeat 3 to 4 times until the water runs mostly clear. Rinsing removes excess surface starch so the rice stays sticky rather than gummy.
2. Soak the Rice
Sticky rice has a tough outer layer and needs extra time to absorb water before heat is applied.
-
Place the rinsed rice in the inner pot and cover it with cold water.
-
Soak for at least 30 to 60 minutes. (If you have time, soaking for 2 to 4 hours yields the best texture.)
3. Adjust the Water Level
After soaking, drain off the soak water completely. Then add fresh water according to the ratio below:
-
The Ratio: Use 1 : 1.25 (Rice to Water by volume).
-
For 1 cup of rice, add 1¼ cups of water.
-
For 2 cups of rice, add 2½ cups of water.
-
-
Note: Sticky rice absorbs less liquid during cooking than long-grain white rice because of the initial soak. Do not fill to the standard “White Rice” line on your inner pot, or it will end up too wet.
4. Select the Cook Setting
-
Aroma Cookers with Digital Controls: Select the White Rice or Steam mode. If your model has a Sushi Rice button, that setting works exceptionally well too.
-
Aroma Cookers with Single-Switch Controls: Press the lever down to Cook.
5. Let it Steam (Crucial Step)
-
Once the cooker switches to the Keep Warm mode, do not open the lid immediately.
-
Keep the lid closed and allow the rice to steam on the “Keep Warm” setting for 10 to 15 minutes. This finishes the cooking process gently and sets the sticky texture.
6. Fluff and Serve
-
Open the lid and use a plastic paddle or silicone spatula to gently fluff the rice from the bottom up.
-
Transfer to a bowl or serving dish.
Tips for Best Results
-
For Extra Chewy, Traditional Thai-Style Sticky Rice: If your Aroma cooker came with a steam basket, place a sheet of parchment paper (with a few holes poked in it) inside the basket. Put the soaked, drained rice directly on the parchment, add 1–2 cups of water to the bottom of the main pot, and use the Steam button for 25–30 minutes.
-
Prevent Sticking: Gently moisten your rice paddle with a little water before serving to keep the rice from sticking to the utensil.