Jump to Recipe Print Recipe
The Secret to My Perfect Veg Pulao: That Time I Overcooked the Vegetables!
Experimenting in the kitchen is where the real fun lies, but sometimes, those experiments teach the most interesting lessons. When I first decided to make an Indian Veg Pulao, I sautéed the vegetables in the spices for too long, just as I would with meat. The result? The vegetables were “overcooked” and lost their texture! By the time the rice was ready, the vegetables looked dull and lifeless, and the rice itself turned out soggy.
That day, I realized something important: in a Veg Pulao, vegetables and rice don’t cook at the same pace; they each require their own timing.
To fix this mistake, I adopted a new approach. Now, I only sauté the vegetables over high heat for one minute. I’ve learned that raw vegetables naturally cook through in the heat and steam of the rice while it’s on dum, so there is no need to fully soften them at the start.
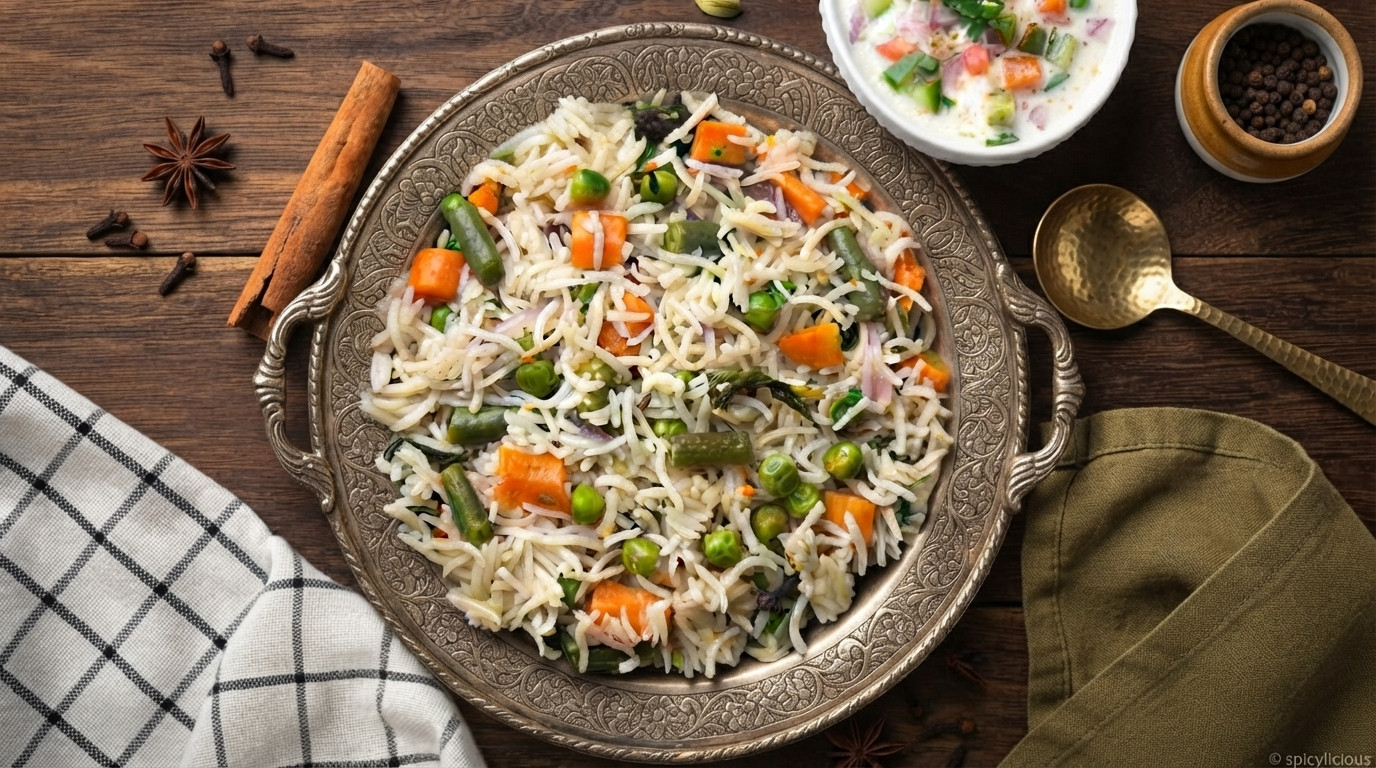
Now, whenever I make my Pulao, the carrots, peas, and beans retain their fresh, vibrant colors, and the rice turns out perfect every single time. This small change proved to be a total game-changer for the quality of my Pulao!
Looking for a spicier vegetarian rice? Try my Pakistani-style aloo tahri.

The Ultimate Vegetable Indian Pulao: My Tested Method for Fragrant, One-Pot Perfection
Ingredients
Equipment
Method
- Method
- Preparation
- Rinse & Soak: Gently wash the basmati rice under cold water until the water runs clear. Soak for 20–30 minutes, then drain completely. This is the secret to fluffy, long grains.
- Prep Veggies: Ensure all vegetables are cut to a similar size to guarantee even cooking.
- Sautéing the Aromatics & Spices
- Heat ghee in a heavy-bottomed pot or pressure cooker. Add the cumin seeds and whole spices (bay leaf, cardamom, cloves, cinnamon). Sauté for 30 seconds until fragrant.
- Add the sliced onions. Sauté over medium heat until they turn a light golden brown.
- Stir in the ginger-garlic paste and cook for 1 minute until the raw aroma dissipates.
- Cooking the Pulao
- Add the mixed vegetables and sauté for 2–3 minutes to coat them in the spiced ghee.
- Add the soaked and drained rice. Gently fold the rice into the vegetables for 1–2 minutes, allowing the grains to toast slightly in the ghee. Avoid over-mixing to prevent breaking the delicate grains.
- Pour in the water (or stock) and add salt. Bring to a rolling boil.
- Once boiling, reduce the heat to the lowest setting and cover with a tight-fitting lid.
- Cook for 12–15 minutes (or 1 whistle if using a pressure cooker).
- The Finishing Touch
- Turn off the heat and let the pot sit, undisturbed, for at least 10 minutes. This resting time allows the moisture to redistribute, ensuring perfect, non-sticky rice.
- Gently fluff with a fork from the edges toward the center. Garnish with fresh coriander or toasted cashews before serving.